Anatomy of a workflow
You’ve mapped the journey and picked your tools. Now you build the thing that actually runs while you sleep: a workflow (some tools call it a “flow,” an “automation,” or a “journey”). This lesson walks you through building the single most valuable one to ship first — a welcome series that turns a fresh Subscriber into a First-time buyer.
Why start here? Because triggered automations punch far above their weight. In Omnisend’s 2025 benchmark analysis, welcome emails earned about $6.16 in revenue per email sent with a 35.5% open rate — dramatically higher than a typical one-off newsletter. A subscriber who just handed over their email is paying attention right now. The welcome series is you answering while they’re still listening.
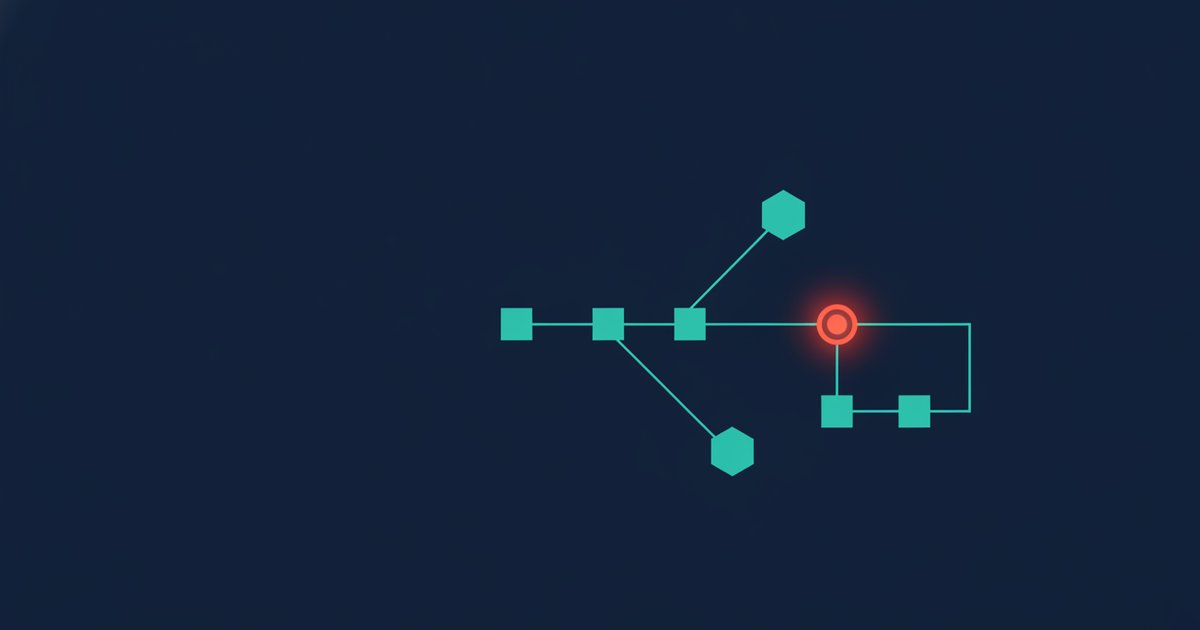
Every workflow, no matter the tool, is built from the same four parts. Learn these once and you can read any automation diagram:
- Trigger — the event that enrolls someone. “Subscribed to the list,” “placed first order,” “abandoned cart.” One workflow, one entry point.
- Actions — what the workflow does: send an email, send an SMS, add a tag, update a field.
- Delays (wait steps) — the pauses between actions. This is the timing that makes an automation feel human instead of robotic.
- Conditions & branches — the “if this, then that” forks. Did they buy? Did they open? The branch is what separates a smart flow from a dumb blast.
Hold those four in your head. Everything below is just arranging them in the right order. If you haven’t yet sketched where a Subscriber sits in GlowKit’s lifecycle, revisit how to map your customer journey first — the workflow is only as good as the map underneath it.
A quick note on scope. It’s tempting to design a fifteen-email epic with a dozen branches on day one. Resist it. The best first workflow is small enough that you can hold the whole thing in your head, test it in an afternoon, and read its numbers at a glance. You can always add branches later; you can’t recover the weeks lost to a flow that was “almost ready” for a month. Everything below is deliberately the minimum that works.
What we’re building on GlowKit
GlowKit is our running example: a D2C skincare brand, online-first, selling one-time purchases plus a replenishment subscription. Someone just signed up for 10% off via the site pop-up. They are now a Subscriber who has never bought. Our goal for this workflow is narrow and measurable: move them to First-time buyer.
The shape of the series: opt-in trigger → brand intro → proof → first offer → first-purchase nudge → branch on whether they purchased. Six steps. Let’s build each one.
Step 1 — Set the trigger
Open your tool and create a new workflow. The first thing it asks for is the trigger — the event that drops someone into this flow. For GlowKit’s welcome series, the trigger is “subscribed to the newsletter list” (or added the “welcome-eligible” tag your pop-up applies).
- Choose a trigger that fires once per person, so nobody gets welcomed twice. Most tools have a “don’t re-enter” setting — turn it on.
- Add an entry condition to keep existing customers out: only enroll if “number of orders = 0.” A Repeat buyer who re-subscribes should never get the “welcome, here’s who we are” email.
- Decide the channel now. GlowKit collects email at opt-in and phone only later, so this series is email-led; we’ll add an SMS touch only if the number exists.
One trigger, clean entry rules. That’s the foundation.
Step 2 — Send the brand intro (Email 1)
Fire the first email immediately — no delay. The subscriber is most engaged in the minutes right after opt-in, so this email does the introductions and delivers whatever you promised at sign-up.
- Deliver the incentive up front: GlowKit promised 10% off, so the code is the hero of the email, not buried at the bottom.
- Introduce the brand in one tight paragraph — what GlowKit stands for (clean, no-nonsense skincare), not your company history.
- Set one clear expectation: what they’ll get from you and roughly how often. This trims early unsubscribes.
- One primary call to action: “Shop bestsellers.” Don’t offer five buttons that split their attention.
Two details people skip. First, from-name and reply-to: send from a human-sounding sender (“Priya at GlowKit”) and let replies actually reach a person. Second, deliverability: the very first email to a brand-new subscriber is where inbox providers decide how much to trust you, so keep it text-forward and light on heavy images. Get email one right and every later step lands in the inbox instead of the promotions graveyard.
Step 3 — Add proof (Email 2)
Add a wait step of about 1 day, then send the second email. New subscribers rarely buy from the very first message; the job now is to build trust before you ask again.
- Lead with social proof: a genuine review, a “10,000 five-star ratings” line, or a short before/after from a real customer.
- Answer the top objection for skincare specifically — ingredients, suitability for sensitive skin, the money-back guarantee.
- Keep the 10% code visible (“your welcome offer is still waiting”) but let proof, not price, carry the email.
- Reinforce the same single CTA. Consistency across the series compounds.
Why the one-day gap rather than sending intro and proof back to back? Spacing gives the first email time to be opened and lets you separate two jobs — welcome, then persuade — so neither email tries to do everything. If your data shows subscribers buy fast, you can tighten these delays later; start with breathing room and compress from evidence, not guesswork.
Step 4 — Make the first offer count (Email 3)
Add another wait of about 2 days, then send the offer email. By now the subscriber knows who you are and has seen proof. This is the email that asks for the purchase directly.
- Recommend a specific starting point — GlowKit’s “Starter Trio” — so the reader doesn’t stall on a full catalog.
- Restate the welcome discount and, if it fits your margins, add gentle urgency: “your 10% welcome offer expires in 48 hours.”
- Make checkout frictionless: link straight to the product or a pre-filled cart, not the homepage.
Step 5 — Branch on “purchased?”
This is the step that turns a mailing list into an automation. Add a wait of about 1 day after the offer, then insert a condition (branch): “Has the subscriber placed an order since entering this flow?”
- Yes → they bought. They’re now a First-time buyer. Exit them from the welcome series so they never get a “still thinking it over?” nudge after they’ve already paid — nothing erodes trust faster. Hand them to your post-purchase flow (covered in the email revenue-flows lesson).
- No → they haven’t bought. Send them down the nudge path in Step 6.
A branch checking “did they do the thing?” is the single most reusable pattern in marketing automation. You’ll use it in cart recovery, win-back, and every flow after this.
Two things make branches behave. Give the wait step before the check enough room — if you branch one minute after the offer email, an order that’s mid-checkout won’t have registered yet, and you’ll nudge a buyer. And make sure the “purchased” condition reads live order data from your store, not a stale field that only updates overnight. When a branch misfires, it’s almost always one of these two: too-short a delay, or data that hasn’t caught up.
Step 6 — Send the first-purchase nudge (Email 4)
For everyone on the “No” branch, send one final first-purchase nudge. This isn’t nagging — it’s a last, useful reminder before the welcome window closes.
- Reframe rather than repeat: address a lingering hesitation (“not sure which product? take our 30-second skin quiz”) or stack light reassurance like free returns.
- Give the offer a real deadline and mean it. A discount that never expires trains people to wait forever.
- If GlowKit captured a phone number at any point, this is a strong spot for a single SMS nudge instead of — or alongside — the email.
- End the flow cleanly. Whether or not they buy, they graduate into your regular lifecycle program; they don’t loop in the welcome series indefinitely.
That’s the whole build: trigger → intro → proof → offer → branch → nudge. Four emails, three wait steps, one decision. Simple on purpose — a small flow that ships beats an elaborate one that never launches.
Testing before you ship
Do not switch a workflow live straight from the editor. A broken automation fails silently and at scale — you won’t notice until revenue dips. Run this checklist first:
- Preview and proof every email. Check the subject line, the discount code actually works, links resolve, and it renders on mobile (most opens are on a phone).
- Test the trigger with a real address. Sign up as a test subscriber and confirm you enter the flow — and that an existing-customer address does not.
- Walk both branches. Have your test subscriber buy something and confirm they exit into the post-purchase flow. Have another not buy and confirm they get the nudge. If your tool has “fast-forward” or preview mode, use it so you don’t wait days between steps.
- Sanity-check timing and exclusions. Make sure nobody can sit in two conflicting flows at once, and that quiet-hours or frequency caps are respected.
- Turn on live, then watch the first 48 hours. Check enrollment counts, open and click numbers, and unsubscribes daily for the first couple of days. Fix, don’t admire.
Ship it slightly imperfect and improve from real data. A welcome series live today teaches you more than a perfect one launching “next quarter.”
Your turn
Build GlowKit’s welcome series — or your own brand’s — end to end this week:
- Create the workflow and set the trigger (Step 1), with the “zero orders” entry condition.
- Draft the four emails: intro, proof, offer, nudge. One CTA each.
- Add the wait steps (0 → ~1 day → ~2 days → ~1 day) and the “purchased?” branch.
- Run the full test checklist, then switch it live and watch it for two days.
Free download: GlowKit Welcome-Series Workflow Diagram + Checklist — a one-page visual flow diagram of the six-step series plus a printable launch checklist, so you can build and test your first workflow without missing a step.
Once this is running, you’ll want the same rigor applied to the flows that drive the most revenue — cart recovery, browse abandonment, and post-purchase. That’s next.
zoho.social is an independent media platform and is not affiliated with, endorsed by, or associated with Zoho Corporation. All product names and brands are the property of their respective owners.